¶ Data Entry
The pulse platform uses the data entered in this data entry form to perform custom calculations. The data may be put to use across the platform and by all authorized users.
You can do the following in the Data entry page:
-
Enter the data for a specific date range for a specific parameter manually.
-
Edit reports to add parameters related to a particular data type. For example, coal and load schedule
Click Data Entry in the Ops Center page.
The following page appears.
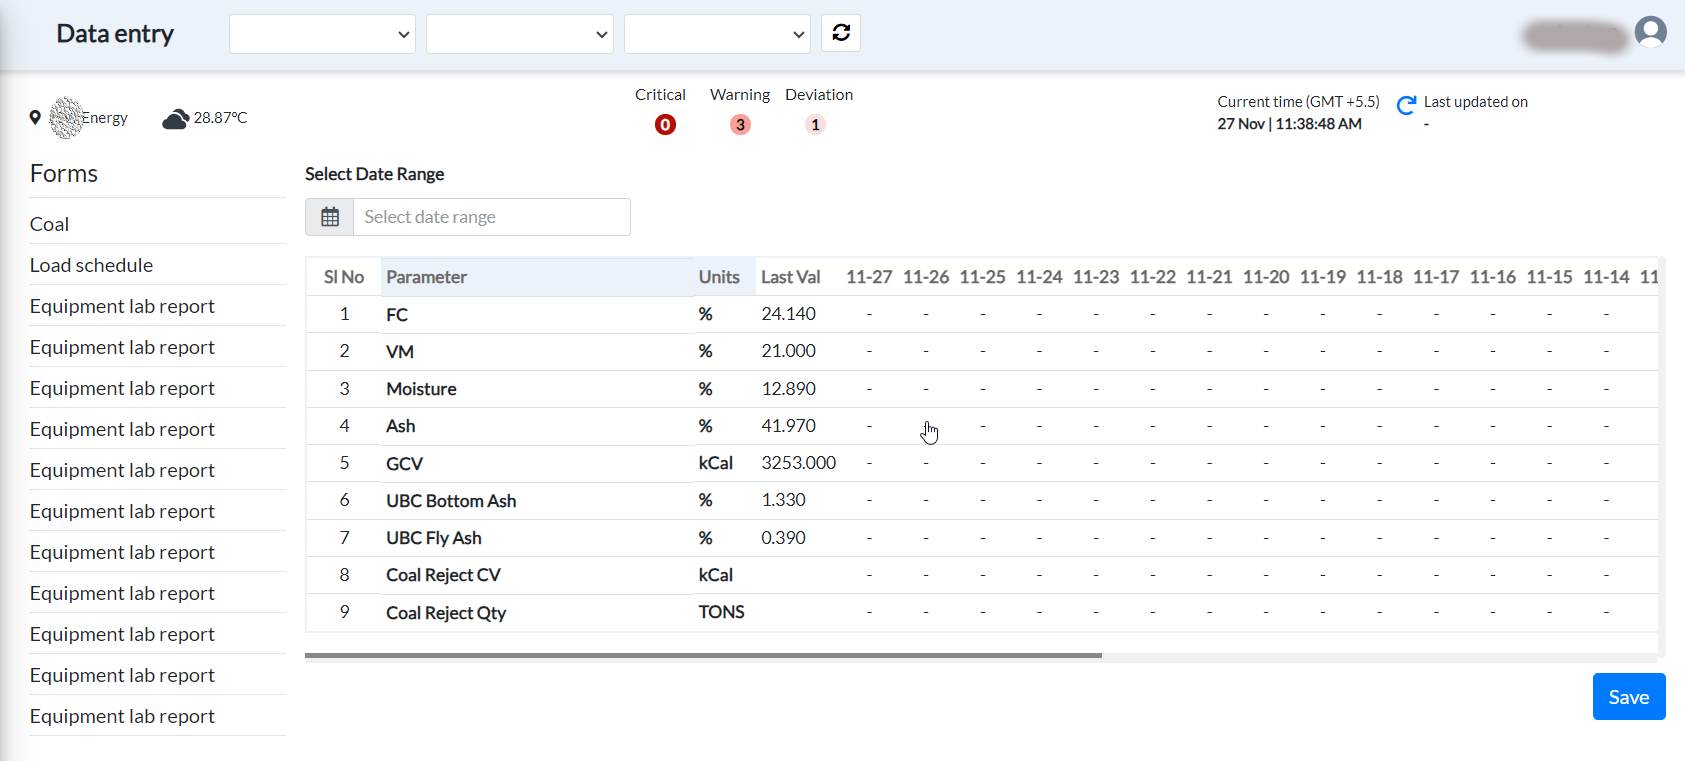
Figure 89. Data entry page
¶ Entering data for Specific date range
To modify data in the Data Entry form:
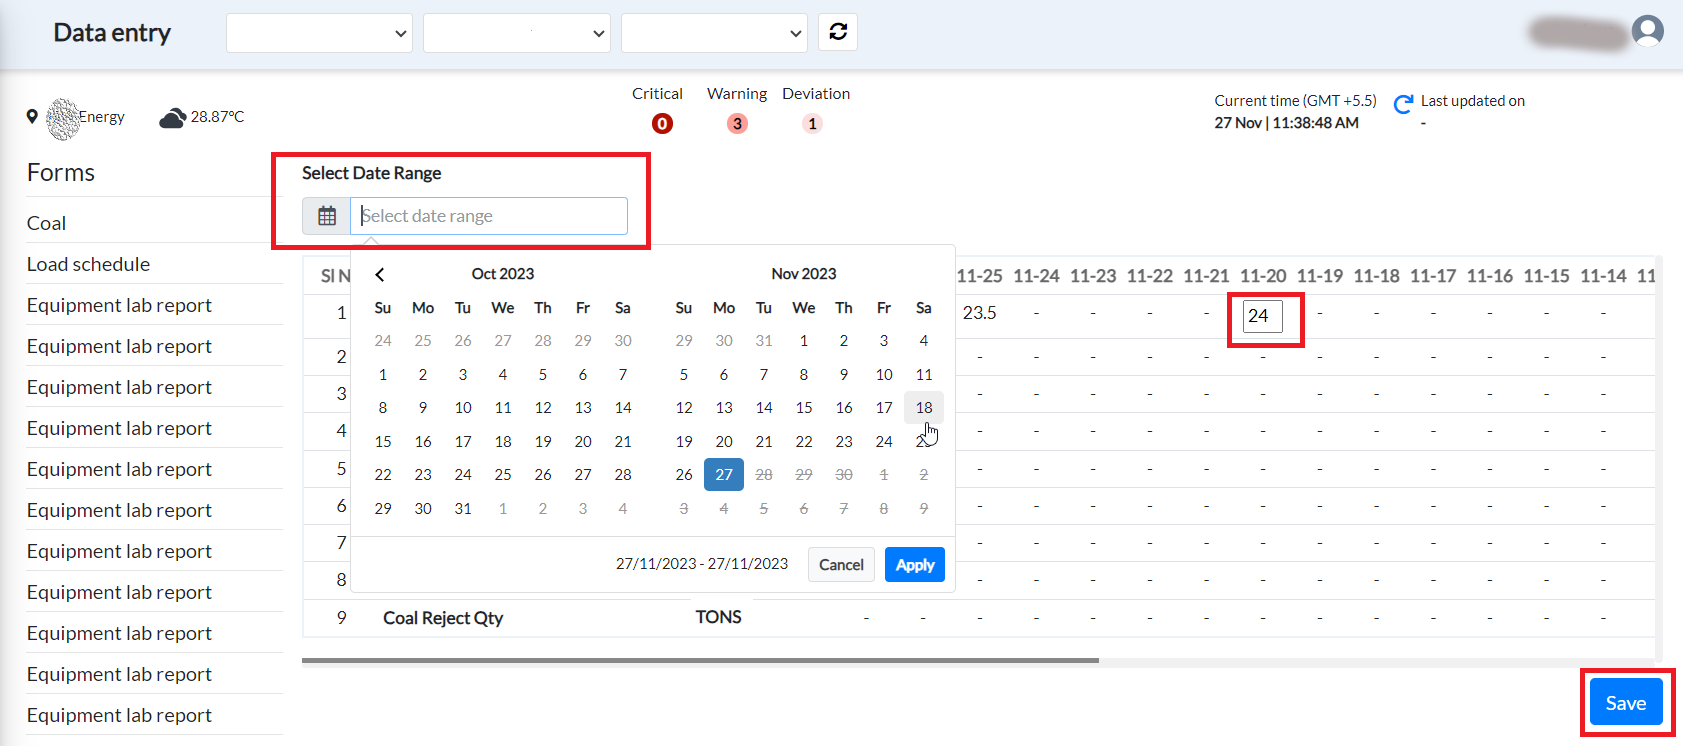
Figure 90. Data entry inputs
- Select the Date Range from the datepicker.
The date columns appear in the grid.
- Enter the value under the relevant date column against the parameters.
Click under a date against a parameter.
Enter a value in the blank box that appears.
Then click Save to update the value.
Note: The latest value entered will be considered as the Last Value.
- Click Save.
¶ Editing Reports to add Parameters
To add a new parameter in the form:
- Hover the cursor over the form you want to modify.
The Edit and Copy icons appear.
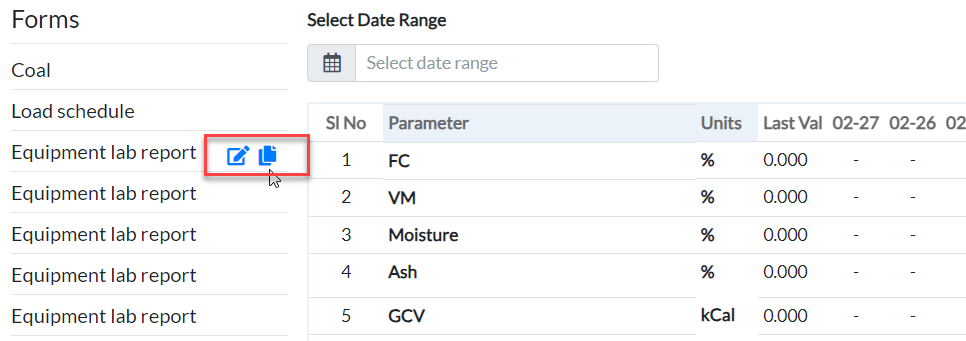
Figure 91. Edit and copy options
- Click the Edit icon in a fuel property row.
Edit Report dialog box appears.
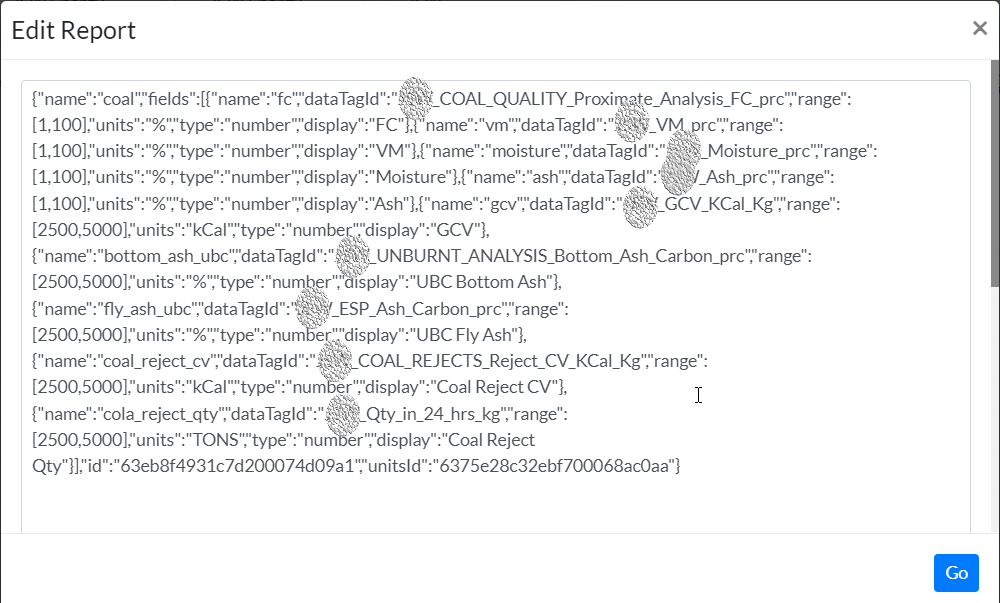
Figure 92. Edit report dialog
-
Enter the new parameter.
-
Click Go.
The new parameter is displayed for the data type.
¶ Copying Data to Date Range
To copy data for a particular date range:
For example, the coal form has a parameter called GCV with value 4,500 on November 14 — this value doesn't change on a day-to-day basis, and you want to copy this data to November 16 and November 17. Instead of manually entering values, use the copy data option.
- Click the copy icon.
Edit Report dialog box appears as shown.
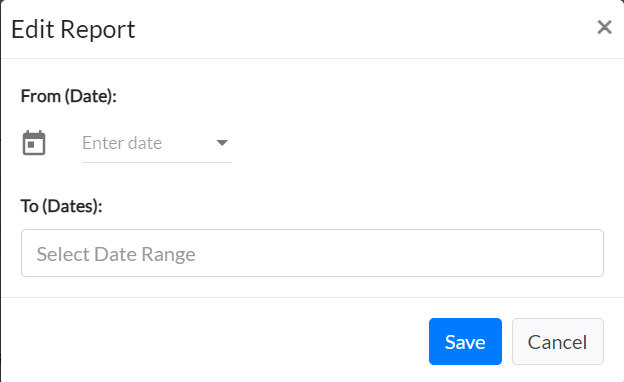
Figure 93. Edit report dialog box
-
Enter or select the From Date
-
Enter or select a date range
-
Click Save.
-
Click Confirm to complete the action.
The data from the chosen date is copied to the set of dates selected.